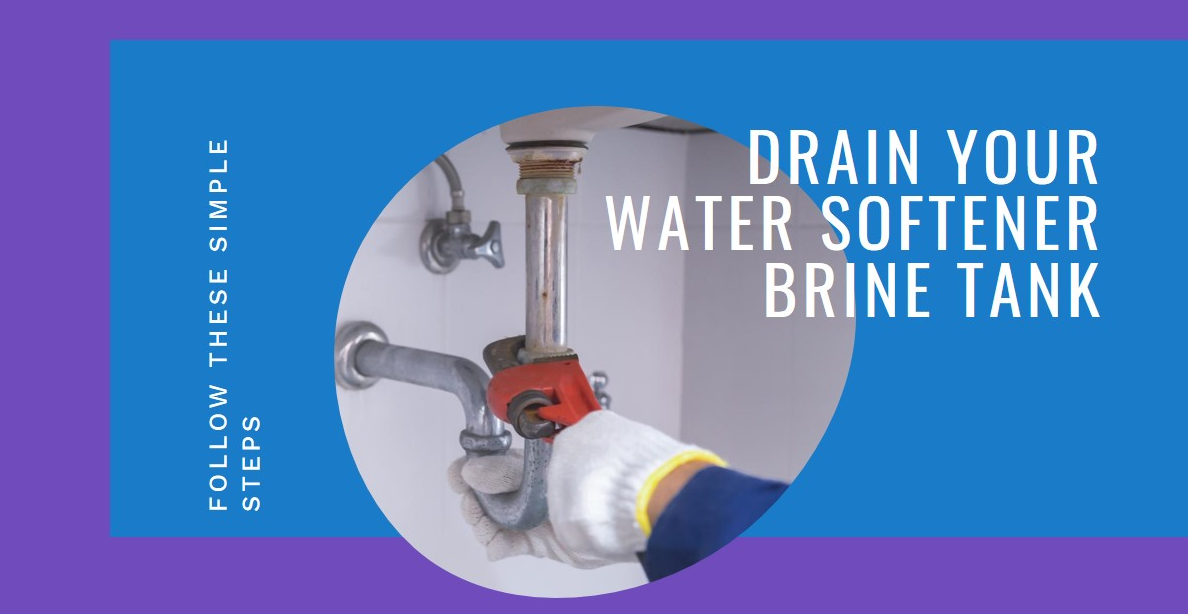
If you have a water softener system installed in your home, learning how to properly drain the brine tank is an important maintenance task. Draining the brine tank helps keep your water softener working efficiently by removing sediment and salt buildup.
In this comprehensive guide, we will cover everything you need to know about draining a water softener brine tank, including:
- What is a water softener brine tank and why does it need draining?
- When should you drain the brine tank?
- Step-by-step instructions for draining the brine tank
- Safety precautions to take
- Troubleshooting common brine tank draining issues
- Tips for quick and easy brine tank draining
- How to drain a frozen or leaking brine tank
- And much more!
Follow these steps to keep your water softener’s brine tank clean and functioning optimally.
What is a Water Softener Brine Tank?
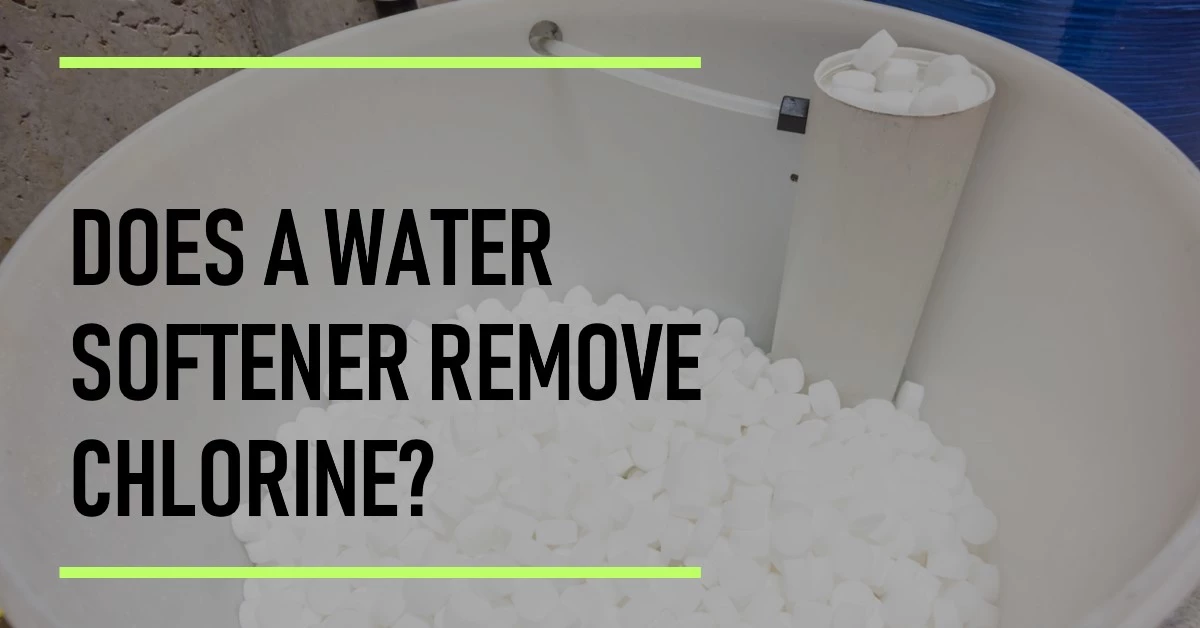
A water softener contains two tanks – the brine tank and the resin tank. The brine tank holds a salt water solution known as brine, which is used to regenerate the ion exchange resin inside the resin tank.
The brine solution is created by adding salt to the brine tank, where it dissolves in water. An automatic valve periodically flushes some of this brine solution into the resin tank to replenish the softening capacity of the resin beads.
The brine tank is typically a plastic or fiberglass tank that sits beside or below the main resin tank. It can range in size from 15-40 gallons depending on the size of your household and water softener unit. The brine tank has a float valve to control water level and a grid plate at bottom to keep the salt elevated off the bottom.

Why Does the Brine Tank Need Draining?
Over time, sediment and salt residue can accumulate at the bottom of the brine tank. If not removed, this buildup can cause the following problems:
- Reduction of brine tank capacity – Buildup takes up space meant for brine solution, reducing the amount that can be produced. This decreases the softening capacity of your system.
- Clogged float valve – Sediment obstructing the float valve can prevent it from working properly. This can lead to overfilling issues.
- Salt bridge formation – A hard layer of salt can form across the bottom of the tank. This salt bridge prevents water from dissolving salt efficiently.
- Corrosion and damage – Salt and sediment buildup can corrode the brine tank over time, shortening its lifespan.
- Poor performance – Insufficient brine solution means your water softener can’t adequately soften hard water. You’ll notice decreased efficiency.
Regularly draining the sediment and salty water from the brine tank helps avoid all these problems and keeps your softener working properly.
When Should You Drain the Brine Tank?
Most experts recommend draining your brine tank every 3-4 months. However, the ideal draining frequency depends on these factors:
- Water hardness – The harder your water, the more often the softener regenerates, producing more sediment buildup. Drain more frequently if you have extremely hard water.
- Water usage – Households that use a lot of water need to regenerate the softener more often, increasing brine tank buildup. Drain more often if your water use is high.
- Salt quality – Lower grade salts with more impurities will produce more sediment. Opt for purer salts and drain more frequently if using salt with lots of impurities.
- Softener model – Older or poorly designed models may be more prone to buildup issues requiring more frequent draining. Check your manual.
- Well water – Well water tends to have more sediment than municipal water sources. Additional draining is recommended if on a well.
Get to know your specific system. Draining every 2-3 months is a good starting point and adjust from there as needed.
How to Drain a Water Softener Brine Tank
Draining a brine tank is a straightforward process that takes about 10-15 minutes. Follow these steps:
Turn Off Water Supply
Locate the inlet shutoff valve for your water softener, typically near the brine tank. Turn the handle clockwise to the off position to shut off water to the softener.
Open the Drain Valve
At the bottom of the brine tank you will find a drain. This may be a drain valve, drain plug, or flexible drain hose. Open the drain completely.
Place a bucket or pan beneath to catch the drainage. Wear gloves and safety goggles, as salt water can be irritating.
Allow Brine Tank to Drain
Let the brine tank drain completely. This may take 5-10 minutes depending on the tank size. Some sediment might come out along with the brine solution.
You may need to remove the brine tank lid to allow air in and improve drainage. Use caution, as wet salt can stick to the lid.
Rinse Tank and Inspect for Buildup
Once drained, rinse the tank with a garden hose to wash away any clinging sediment. Inspect the interior for scale buildup or crusty salt deposits. Use a plastic scraper to remove any stubborn buildup.
Check the float valve and ensure it moves freely. Remove any debris obstructing it.
Close Drain and Turn Water On
Securely close the drain valve or replace the drain plug/hose. Turn inlet valve back on to restore water flow to the softener.
Add Salt
Refill the brine tank with salt following your softener manufacturer’s recommendations. Use clean salt with few impurities.
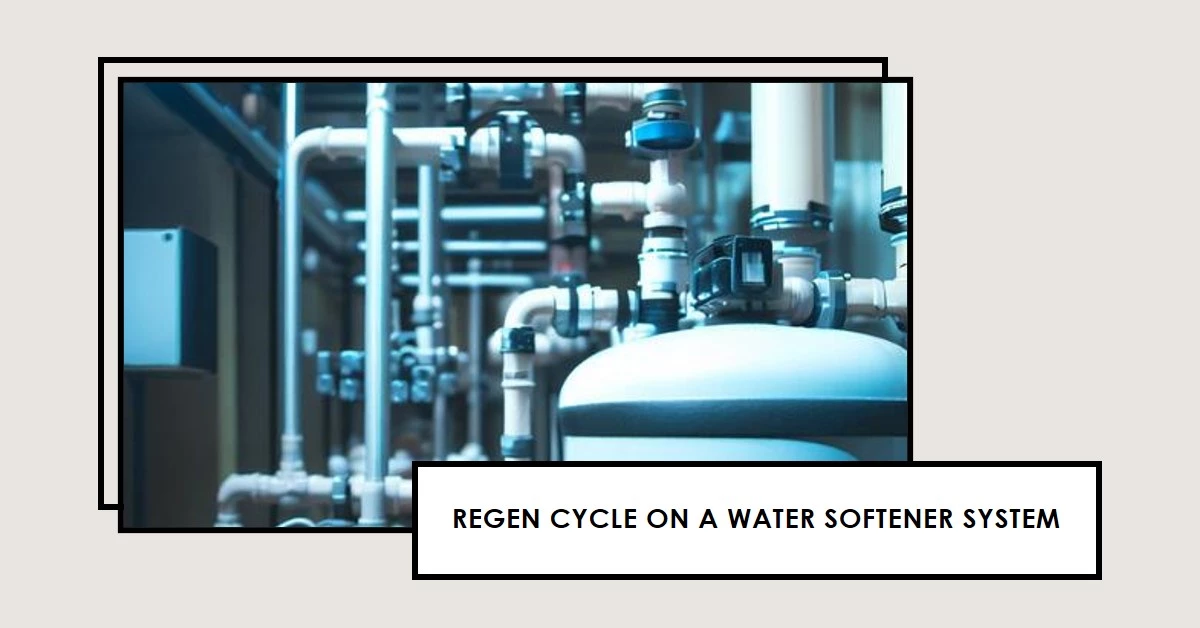
Flush Softener
Initiate a manual regeneration cycle to flush the system and create new brine solution.
Clean Up Residual Brine
Use a mop or towel to wipe up any spilled brine solution. Dispose of the drained brine properly. In some areas it can be poured outside, while others require it to go down a drain.
And that’s it! Following this basic process will keep your brine tank clean and your water softener performing optimally.
Safety Precautions When Draining the Brine Tank
While draining a brine tank is relatively safe, take these precautions:
- Wear rubber gloves and eye protection – the salt brine can irritate skin and eyes.
- Use caution when removing lid – wet salt sticking inside can fall.
- Keep children and pets away – it’s a hazardous area during draining.
- Don’t spill brine – it can damage plants, concrete, metals, etc. Wipe up spills immediately.
- Avoid contact with skin – rinse any skin the brine touches right away.
- Follow disposal regulations – some areas restrict how brine solution can be disposed.
- Ventilate area – breathing in salt dust when refilling tank is unpleasant.
- Disconnect power – turn off water softener before draining just to be safe.
Exercising basic precautions will ensure the process is safe for you and your home.
Troubleshooting Brine Tank Draining Problems
Most brine tank draining goes smoothly, but here are some troubleshooting tips for potential issues:
Problem: Drain valve won’t open
Solution: Spray lubricant (WD-40) on the valve and work the handle back and forth. Check for blockages around valve opening.
Problem: Drainage is slow even with valve fully open
Solution: Clear sediment from the drain line with a pipe cleaner or by back flushing with a hose.
Problem: Float valve sticks and won’t move
Solution: Carefully clean valve, removing any salt or sediment buildup. Apply lubricant if needed.
Problem: Excess foaming during draining
Solution: This is caused by soap residue in the tank. Scrub tank with a bleach solution after draining. Avoid products that leave soapy film.
Problem: Leak from drain valve
Solution: Tighten the valve if loose. If it won’t seal even when closed fully, replace drain valve.
Following proper brine tank maintenance procedures will minimize any draining issues. But these tips can help troubleshoot should any problems arise.
Tips for Quick and Easy Brine Tank Draining
Here are some useful tips to streamline and simplify the brine tank draining process:
- Schedule draining when the tank is already low on brine to minimize liquid volume.
- Keep a dedicated drain pan/bucket under the softener to catch brine.
- Attach a flexible drain hose for easy brine diversion to drainage point.
- Lubricate the drain valve annually with WD-40 to prevent sticking.
- Use a wet/dry shop vac to suck out remaining brine/sediment.
- Inspect and scrub the tank each time to prevent major buildup.
- Mix hot water and salt before refilling tank to quick dissolve salt.
- Write draining dates on tank lid to track when last performed.
- Have brine tank cleaning tools (gloves, scraper, scrub brush) easily accessible.
Making brine tank draining part of your regular maintenance routine will allow you to complete the task quickly and with little mess or difficulty.
How to Drain a Frozen Brine Tank
In cold climates, extremely low temperatures can cause the brine solution in the tank to freeze. The ice blockage prevents proper draining.
To melt the ice and drain a frozen brine tank:
- Turn off power to water softener for safety.
- Pour hot water over exterior of brine tank. Target any drain valves and lines.
- Apply a portable heater or hair dryer to thaw ice inside the brine tank. Caution: Don’t allow plastic to overheat.
- Add rock salt on top of the ice inside the tank as an extra ice remover.
- When ice loosens, rotate drain valve handle back and forth to break loose.
- Once able to open drain, proceed with standard draining steps.
The brine solution itself has a very low freeze point due to all the dissolved salts. But if tank was allowed to get extremely cold, the ice can still cause draining issues. Using these melting techniques allows you to drain the tank in the event of freezing temperatures.
How to Drain a Leaking Brine Tank
A brine tank that has sprung a leak needs to be drained ASAP to determine the leak point and prevent extensive water damage.
To safely drain a leaking brine tank:
- Turn off water supply to softener to stop more brine being produced.
- Have a wet/dry shop vac ready to suck up leaking brine quickly.
- Place drain pan beneath area of leak.
- Wear rubber boots and gloves to safely walk on wet surface.
- Carefully open drain, prepared to close again if leaking accelerates.
- Once tank is empty, inspect for cracked tank or damaged drain line/valve.
- Replace any damaged components that caused the leak.
- Use towels to soak up any remaining moisture before refilling tank.
The key is controlling the water flow to limit damage until the cause of the leak is determined and fixed. With care, even a leaking brine tank can be safely drained.
Alternative Brine Tank Draining Methods
Beyond the standard drain valve/hose method, there a couple other approaches some use to drain their brine tanks:
Siphon Drain – A siphon hose primed and placed into the brine, then routed downhill to a drain. Brine siphons out driven by gravity.
Pump Drain – A pump attached hose is inserted into the brine tank to actively pump out the old brine.
Tank Removal – The brine tank is disconnected and carried outside to be tipped over and drained.
Each approach has pros and cons to weigh, but most find the standard drain valve the easiest and most convenient way to go.
How Often Should the Brine Tank Be Replaced?
The brine tank itself doesn’t necessarily need full replacement very often. With proper maintenance, a brine tank can last 15-20 years or longer.
However, some brine tank components will need periodic replacing:
- Drain valves every 5-7 years when they stop sealing well
- Float valves every 5-10 years when they start sticking
- Safety floats every 5 years or immediately if cracked/damaged
- Grid plates every 10+ years when thinning starts allowing salt bridging
Visually inspecting brine tank parts annually will ensure timely replacement before failures occur. Overall, focus on maintaining your existing brine tank rather than full replacement.
Disposing of Brine Tank Waste Properly
When draining the brine tank, keep in mind that the salt-laden water you remove needs proper disposal:
- Many areas allow you to pour brine waste down a sink or tub drain connected to a septic system or sewer. Dilute first if very concentrated.
- Brine waste can typically be poured outside on soil, gravel, or patios where it will absorb. Avoid pouring on plants.
- Some local regulations prohibit brine discharge to septic, sewer drains or outdoors. In these cases, you’ll need to collect it for hazardous waste disposal.
- Never pour brine waste directly into storm drains, streams or other bodies of water where it causes environmental harm.
Check your local regulations on allowable brine disposal methods to ensure you dispose of it safely and legally. Handled correctly, brine waste doesn’t pose major safety risks.
Maintaining a Water Softener Brine Tank
Beyond periodic draining, a few other brine tank maintenance tips:
- Wipe down the interior annually to prevent scale buildup.
- Use pure evaporated salt, not pellets, which can break down into sediments.
- Add resin cleaners to the tank monthly to prevent algae, mold and bacteria growth.
- When refilling with salt, don’t overfill past the tank’s designated salt line.
- Keep some excess capacity in tank for salt storage in case weather prevents shopping.
- Avoid pouring grease, oils or soaps into the brine tank.
- Replace the brine tank lid if cracked to prevent contamination.
- Lubricate salts bridges by pouring 1-2 gallons warm water on top to break up.
Proper brine tank care maximizes the life of your water softener and keeps it performing optimally year after year.
In Conclusion
Draining your water softener’s brine tank is a quick and simple maintenance procedure that prevents many operational issues. For optimal performance, it should be done every 3-4 months.
Carefully follow the step-by-step process outlined here for draining the brine tank and cleaning the interior when needed. Take basic safety precautions like wearing gloves and goggles.
Troubleshooting tips can help resolve any draining problems you encounter. And proper disposal of the removed brine waste protects your home and environment.
With just an annual hour or two spent draining the brine tank, you can add years of reliable service life to your water softener system. This prevents the high replacement costs when lack of maintenance causes premature failure.
Be sure to also follow the other maintenance steps covered here like checking float valves, cleaning scale buildup, using purer salts, and replacing old brine tank components as needed. Your household’s water quality relies on keeping your brine tank in tiptop shape!